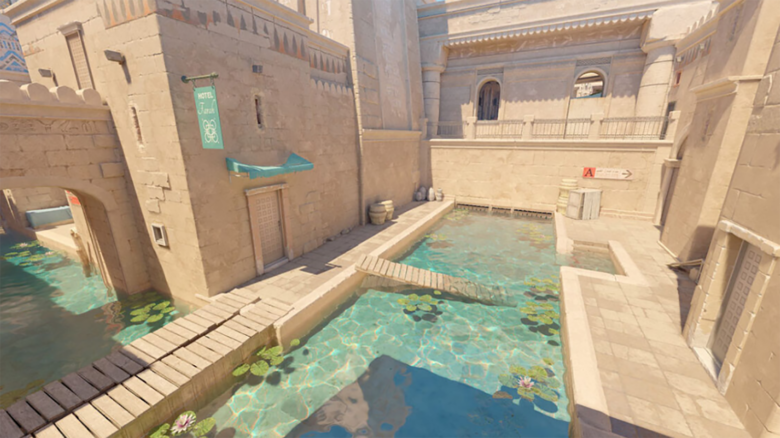
Anubis has settled into the CS2 Active Duty map pool, even with a short absence along the way. You still see it often in competitive play, which makes familiarity with the map increasingly important.
If you play Premier or FACEIT, you rely on clear communication to win rounds. Learning Anubis callouts helps you share accurate information, react faster, and stay aligned with your team during matches.
Anubis Callouts for CS2
You rely on clear callouts on Anubis because team familiarity varies from match to match. Consistent names reduce hesitation during executes, retakes, and rotations. Use the terms below to keep communication direct and predictable.
The layout splits into A-side lanes, a contested Mid, and a layered B approach. Each zone uses simple, widely accepted names that describe position, elevation, or function.
Complete Anubis Location Callouts (2026)
The list below organizes callouts by map area so you can scan quickly during practice or review. You should use these names exactly as written to avoid confusion.
Spawns and Rotations
| Callout | Description |
|---|---|
| T Spawn | Starting area for the attacking side. |
| CT Spawn | Starting area for the defending side. |
| Beach | Open space behind CT Spawn, often used during saves. |
| Tunnel | Narrow passage linking Beach to A-site Heaven, common in retakes. |
These positions matter most during early-round planning and late-round survival. Clear spawn callouts help coordinate fast rotations.
A Site and Approaches
| Callout | Description |
|---|---|
| A Site | Bomb plant area on the A side. |
| Heaven (A) | Elevated platform overlooking A Site. |
| Platform | Raised position to the right of A Heaven with site visibility. |
| Camera | Tight connector between Mid and A Site. |
| Fountain | Elevated spot watching A Main, with a pillar for cover. |
| A Main | Primary entry path into A Site. |
| Water | Shallow river area outside A Main. |
| Wood | Wooden platform near Water, below Carpet. |
| Carpet | Elevated walkway that avoids direct E-Box sightlines. |
You often hear rapid A-site callouts during executes. Precise elevation terms like Heaven and Carpet prevent misreads.
T-Side Lanes and Mid Control
| Callout | Description |
|---|---|
| Stairs | Main exit from T Spawn toward Water and Canal. |
| Canal | Long, exposed lane toward E-Box, used in A crunches. |
| Street | Wide area on the right side of T Spawn. |
| Top Mid | Area before reaching Bridge, exposed to House peeks. |
| Bridge | Short crossing into Mid, visible from Canal gaps. |
| House | Covered CT position for early Mid pressure. |
| Double Doors | Alternative Mid entrance beside House. |
| Mid | Central control area connecting both sites. |
Mid callouts shape the round pace. When you specify Top Mid or Bridge, teammates know exact angles without extra explanation.
B Site and Entrances
| Callout | Description |
|---|---|
| B Site | Bomb plant area on the B side. |
| Palace | Rear B entrance accessed from Mid. |
| Cave | Sheltered path to B that avoids Sniper sightlines. |
| Sniper | Elevated angle with partial view into B Site. |
| Street (B) | Small area below Sniper used for site control. |
| Backsite | Rear portion of B Site with multiple pillars. |
| Pillar | Central B-site pillar providing partial cover. |
| E-Box | Enclosed room connecting Canal to B Site. |
| Ledge | Left-side B Main ledge, sometimes called Pizza. |
| B Main | Primary entrance into B Site. |
| B Long | Area before B Main, hidden from site players. |
| Heaven (B) | Elevated position near B Long. |
B Site relies on layered vertical callouts. When you call Sniper or Heaven, you signal height and angle at the same time.
Use these callouts consistently across scrims and matchmaking. Repetition builds shared understanding, even with teammates new to Anubis.