How to Make Skins
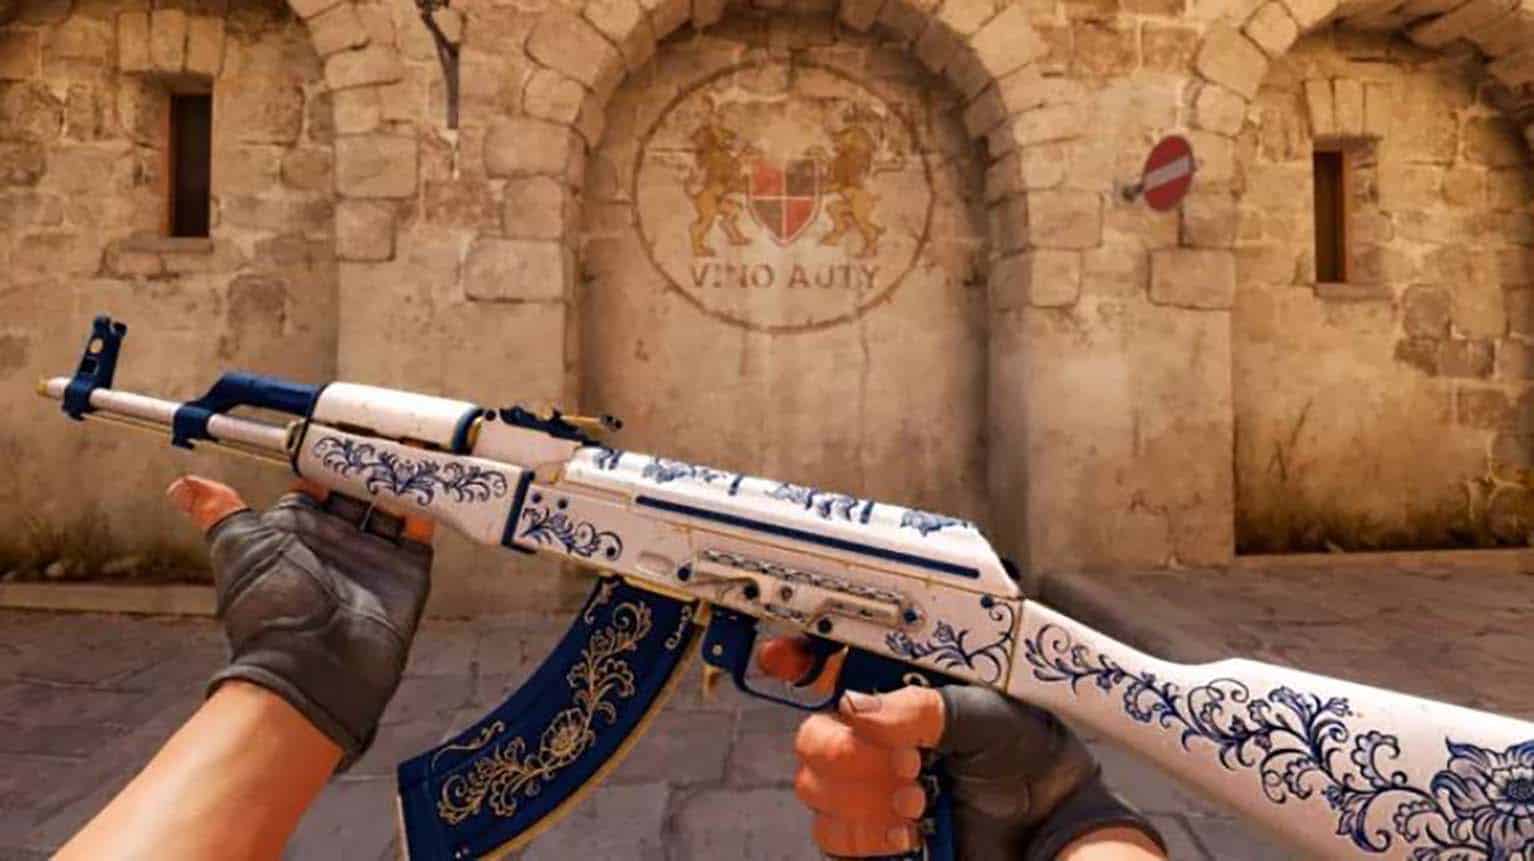
Weapon skins in Counter-Strike 2 (CS2) play a pivotal role in enhancing gameplay by allowing players to display personal flair and creativity. These digital embellishments have become a significant aspect of the gaming experience, enabling players to make distinctive style statements on virtual battlefields.
Creating custom skins can be both an intriguing and rewarding endeavor for enthusiasts. This process not only deepens the appreciation for the artistry behind these designs but also presents potential financial opportunities if Valve, the game's developer, approves the submission. This article explores the essential steps for crafting and submitting your own CS2 skins.
Crafting Custom Skins for CS2
To create a custom skin for Counter-Strike 2, begin by navigating to the Steam Library and selecting the game. Click on the gear icon on the right side and choose ‚Properties.‘ Within the properties, access the DLC tab and enable ‚Counter-Strike 2 Workshop Tools.‘ After the download completes, launch CS2 from the Steam Library and select “Launch Workshop tools for items.”
In the Workshop interface, open the “Custom Paint Shop” and locate the file named cu_paintkit_example. This file contains the AWP model with an example skin. By clicking the „Inspect“ button at the top-right, you can preview the skin in-game.
To alter the weapon's skin, prepare an image file in TGA format. Many third-party websites allow the conversion of PNG files to TGA. Insert the TGA file by right-clicking on the preview square and aligning the textures accordingly. Update the file path from “items/assets/paintkits/workshop/example_custom_paint.tga” to reflect your new file, such as „items/assets/paintkits/workshop/x.tga.“
Using the “Texture Scale” slider, adjust the resolution and size of your texture to fit your design preferences. This slider provides control over how your image appears on the model, ensuring the skin is applied correctly.
To see how the skin functions within the game environment, the ‚Preview‘ button can be used. Selecting this will open a server demonstration, allowing the designer to interact with the custom skin in a live setting.
Following these steps completes the process, and a new skin for Counter-Strike 2 is created.
Steps to Release CS2 Skins
To make a CS2 skin accessible to the public, initiate by uploading it to the Steam Community Workshop. This process begins with selecting the „Publish“ button, which brings up the workshop submission interface. Here, you are required to complete all necessary fields before you click „Submit.“
The submission then undergoes a moderation process. If it meets the requirements, the skin becomes visible for players to view and rate within the Steam Workshop. For the skin to gain in-game recognition, it must receive official approval from Valve.
Completion of this process allows the skin to be spotlighted within the CS2 community, giving it a chance to catch the eye of both players and developers. It's important for creators to ensure that their skins align with community standards and expectations to improve the chances of acceptance.