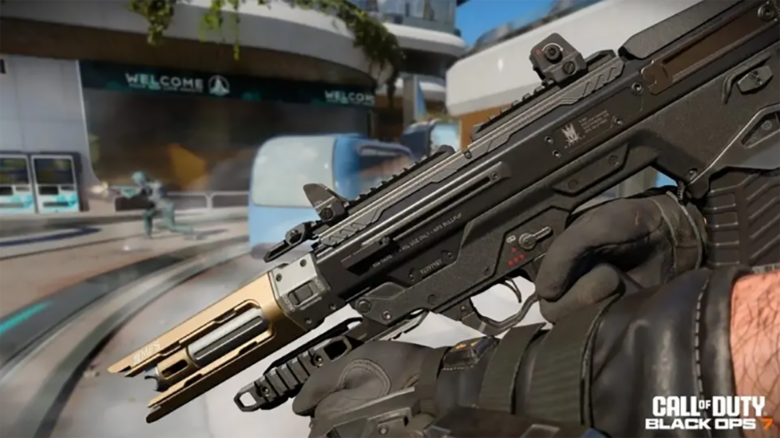
Season 1 of Call of Duty: Black Ops 7 brings back the Maddox RFB, an assault rifle many players remember from earlier entries in the series. You can use this weapon effectively in multiplayer, but its performance depends heavily on how you build it.
To get consistent results, you need attachments that support control, handling, and damage at common engagement ranges. This guide focuses on the most effective Maddox RFB loadout so you can stay competitive in Black Ops 7 matches.
Best loadout for the Maddox RFB in Black Ops 7
You get the most value from the Maddox RFB after you push it to max level, since this setup relies on late unlocks that fine-tune control and consistency. Once equipped, the rifle stays stable during sustained fire and keeps damage effective across common engagement ranges.
Recommended Maddox RFB setup
| Slot | Attachment |
|---|---|
| Optic | Lethal Tools Elo |
| Muzzle | RL-5.56 Brake |
| Barrel | 17″ Perfidy-75 Barrel |
| Stock | Migrate MIX Stock |
| Fire Mods | Buffer Spring |
Build code: A11-AUXZ3-8YJD3-1
This configuration focuses on recoil management and damage range without hurting the weapon’s natural handling. The muzzle and barrel work together to reduce horizontal shake and keep shots grouped during full-auto bursts.
You retain the Maddox RFB’s fast fire rate, which helps you win mid-range fights when accuracy matters more than raw mobility. The stock and fire mod smooth out follow-up shots, so you spend less time correcting aim and more time tracking targets.
You can challenge lanes confidently, hold power positions, and still react quickly in close encounters. The rifle remains flexible across most multiplayer maps, especially when fights shift between medium sightlines and tighter interiors.