
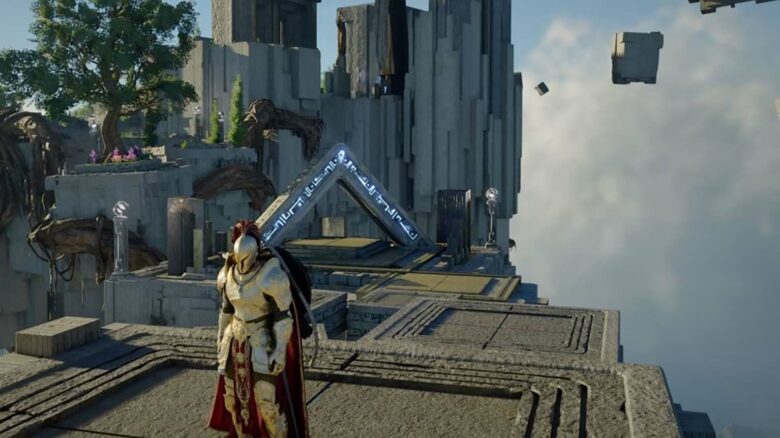
The Abyss Gate in the Chaos Forest stands out as one of the more demanding early puzzles in Crimson Desert. You must manage hostile red vines, reposition Abyss Cells, and coordinate multiple power sources while dealing with a door that refuses to remain open.
If you approach the sequence without a clear plan, the mechanics can feel unclear and restrictive. With the right steps, however, you can move through the gate efficiently and continue deeper into the Chaos Forest.
Steps to solve the Chaos Forest Abyss Gate in Crimson Desert
You access the Chaos Forest Abyss Gate after climbing the Spire of Insight. Once inside the gate, focus on restoring power and clearing blocked paths in a set order.
1. Burn away the red growths
You begin in an area covered in red vines that block movement and interaction.
Activate Concentrated Light by holding LB/L1 + RB/R1, then press LB/L1 again to focus the beam. Aim your sword at the vines and keep the light steady until they ignite. The fire spreads across connected growths, so maintain pressure until the surface clears.
Once the vines disappear, you unlock access to the lower level.
2. Retrieve and reposition the first Abyss Cell
Drop down and jump to the burning platform below. You will find an Abyss Cell there.
Use Axiom Force (hold LS/L3) to lift the cell. While carrying it, throw it back toward the upper area you started from, then climb back up the rocks to retrieve it.
The cell will still be burning, so you must extinguish it before installation.
3. Extinguish the cell and install it
Carry the Abyss Cell to the nearby water pool. Submerge it fully to remove the flames.
Turn around and bring the cooled cell to the empty wall socket beside the already powered unit. Position it carefully, then release it in place.
Climb on top of the cell and use Force Palm while standing on it to push it firmly into the slot. When installed correctly, it glows blue, matching the adjacent power source.
This restores one of the energy inputs for the central mechanism.
4. Climb upward and clear the next barrier
Cross the gap using the large tree roots directly opposite the installed cells. Climb them to reach the next level of the structure.
Enter the small chamber on your left and burn the vines covering the interior wall using Concentrated Light again.
Look across the gap to your left and burn the vines there as well. Once cleared, jump across to that section.
5. Access the second Abyss Cell
Use Nature’s Grasp to open the sealed doorway and enter the small room beyond. Inside, you will find another Abyss Cell and an Abyss Fragment on the ground.
Lift the cell using Axiom Force and place it into the nearby wall slot. If positioning feels awkward, use the Abyss Fragment as a temporary step to gain height and apply Force Palm directly into the center of the cell.
Push it firmly into place until it activates.
At this stage, two power sources feed the main structure.
6. Keep the doorway open
After installing the second cell, pick up the Abyss Fragment. Return to the doorway you entered through.
The door will close because Nature’s Grasp does not hold permanently. Reopen it with Nature’s Grasp, then quickly grab the fragment and set it beneath the doorway to prevent it from shutting fully.
By wedging the fragment under the door, you maintain the connection and ensure the power remains active.
7. Activate the central wheel
Exit the room and approach the large rotating wheel outside.
Climb onto the wheel and move toward its center hub. While gripping the middle section, use Force Palm on the mechanism.
The impact knocks you backward. Prepare to trigger your Flight ability immediately so you can glide safely to a nearby platform.
If you fall and enter a skydive state, reload your save to return directly to the Abyss Gate rather than repeating the entire sequence.
8. Claim the reward and unlock the path forward
Use the staircase to the right of the wheel to reach the elevated platform above it.
Collect the Abyss Artifact, which rewards you for completing this gate’s challenge. Then head toward the Sky Bridge archway.
Pass through the arch and use Axiom Force on the nearby pillar to extend the route. Complete the short traversal sequence to link the bridge to the surrounding Abyss pathways.
Ability Reference Table
| Ability | Function in This Puzzle | Input (Controller) |
|---|---|---|
| Concentrated Light | Burns red vines and clears blocked surfaces | LB/L1 + RB/R1, then LB/L1 |
| Axiom Force | Lifts and throws Abyss Cells and fragments | Hold LS/L3 |
| Force Palm | Pushes Abyss Cells into sockets and activates mechanisms | Assigned ability input |
| Nature’s Grasp | Opens sealed organic doorways | Assigned ability input |
| Flight | Stabilizes landing after being knocked back from the wheel | Assigned ability input |
Follow the sequence carefully and install both Abyss Cells before attempting to activate the wheel. The mechanism only responds after both power sources are secured and the doorway remains wedged open.