


Best Landing Spots in Area 99
Area 99 has emerged as a popular map option in Warzone Season 1, attracting players with its unique layout and strategic points. As those familiar with battle royale gameplay know, choosing the right landing spot is crucial for gaining an early advantage and securing victory.
This guide explores some of the prime locations within Area 99 that offer abundant loot and strategic positioning. From locations with excellent vantage points to areas built for intense close-quarters combat, there's a spot suited for every playstyle. The following insights aim to aid players in navigating this dynamic map effectively.
Guide to Prime Landing Areas in Warzone's Area 99
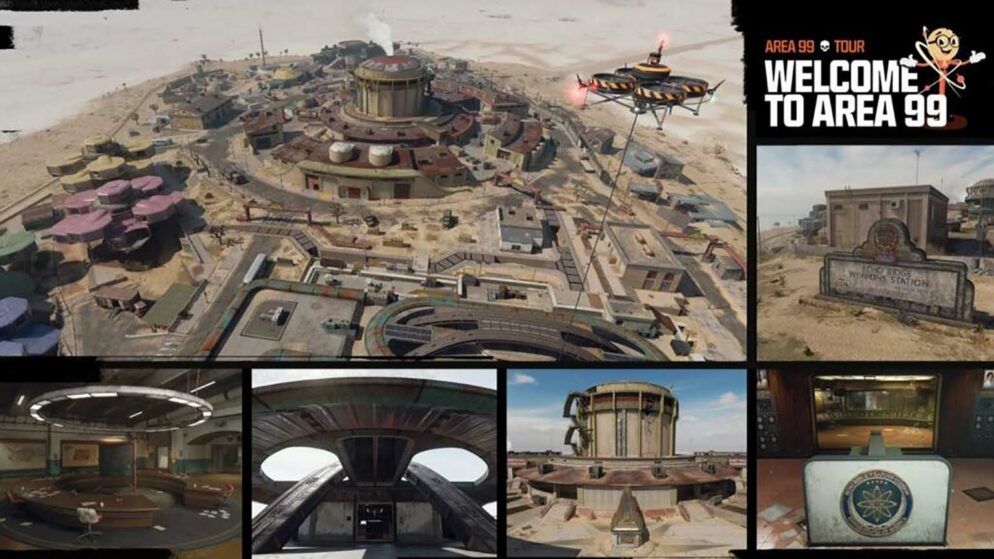
Area 99 offers a compact battlefield with diverse points of interest that ensure fast-paced action. Among the top spots to land, the Bunker provides a strategic edge with its defensible position and loot availability. The Pods is perfect for those who favor quick engagements. For loot enthusiasts, the Test Site is ideal, given its variety of resources. Meanwhile, the Loading Bay offers ample cover and opportunities for ambushes.
Top Spots to Land in Zone 99
Underground Shelter
The Underground Shelter is an enticing landing zone for those who thrive on action and know how to make hasty retreats. This area is abundant with gear, allowing players to gear up without needing to rush to other locations unless a specific weapon is still desired. Despite the enticing loot, the shelter is a crowded drop point, attracting many competitors. Limited escape paths mean players must be ready for robust battles.
The Capsules
The Capsules offer a compact yet rewarding landing option. These small units are chock-full of equipment, making them a hotspot for close-quarter enthusiasts. With the right submachine gun, such as the Saug or C9, taking down rivals becomes manageable. Navigating through the Capsules requires caution, as their layout can be confusing, leading to disorientation if one is not careful.
Evaluation Ground
For players preferring tranquility after landing, the Evaluation Ground presents a suitable option. Situated at the edge of the map, this area is filled with potent arsenal options. Its remote location means a minimal chance of encountering others immediately, granting time to gather gear peacefully. Post-loot, adventurers can traverse nearby areas in search of additional armaments.
Cargo Zone
Similar to the Evaluation Ground, the Cargo Zone provides a serene initial landing experience. Players can land, collect resources from surrounding structures, and proceed to other objectives without immediate threats. Occasionally, other players might choose this spot, but encounters are typically sparse, reducing the likelihood of early confrontations.