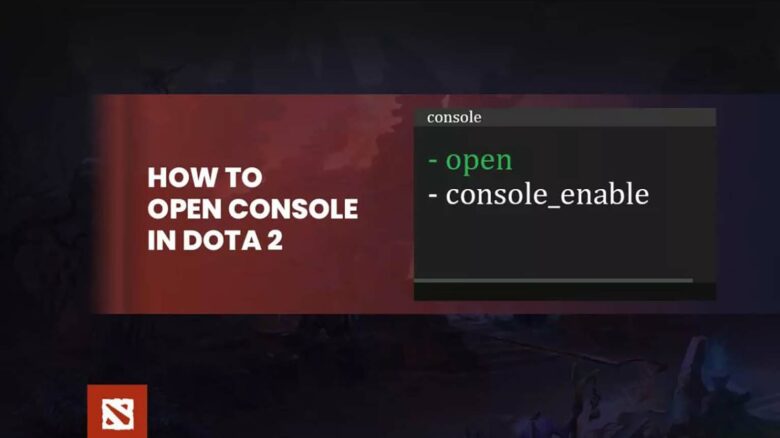
Dota 2 includes a built-in developer console that lets you adjust settings, run commands, and fine-tune how the game performs. Like in other Valve titles, this tool gives you direct control over features that standard menus do not fully expose.
Many players overlook the console because the game hides it by default, and the setup process is not obvious. Once you understand what it does and how to activate it, you can use it to customize your experience more efficiently and manage your game with greater precision.
Understanding the Dota 2 In‑Game Command Console
You use the Dota 2 console as a built‑in command interface that lets you enter text commands while the game runs. It gives you direct control over settings and system behavior without navigating standard menus.
With it, you can:
- Adjust performance settings
- Create custom key binds
- Modify gameplay preferences
The layout may seem technical at first, but once you learn the basic commands, you can manage your setup quickly and efficiently.
Activate the Developer Console in Dota 2
Dota 2 keeps the developer console turned off by default, so you need to switch it on before you can use any commands. The setup takes less than a minute.
Follow these steps inside the game client:
- Open Dota 2 and click Settings.
- Go to the Game tab.
- Scroll to the Miscellaneous section.
- Check the box labeled Enable Console.
After you enable it, press the backslash (\) key to open or close the console. The game assigns this key automatically.
If you prefer a different layout, change the key binding. Open the hotkeys menu, find the console binding, and assign a new key such as tilde (~).
Once active, you can access console commands at any time during gameplay or from the main menu.
Best Dota 2 Console Commands to Get Started With
After activating the console, you can adjust performance, visuals, and basic controls with a few simple commands. These options improve clarity and make testing settings easier.
The table below lists practical commands you can use right away:
| Command | What It Does | How to Use It Effectively |
|---|---|---|
fps_max [value] |
Caps your maximum frames per second. | Set the value to match your monitor’s refresh rate, such as 144 for a 144Hz display. |
cl_showfps 1 |
Shows a small real-time FPS counter. | Use it to monitor performance without cluttering your screen. |
dota_screen_shake false |
Disables screen shake effects. | Turn it off if you prefer a steadier view during fights. |
quit |
Closes the game instantly. | Use it to restart quickly after changing settings. |
disconnect |
Leaves the current match session. | Helpful if you need to reconnect due to connection issues. |
status |
Displays player connection data. | Check ping and connection stability during a match. |
dota_force_right_click_attack 1 |
Enables right-click denies. | Deny allied creeps or heroes without pressing the attack key. |
dota_minimap_creep_scale 2 |
Adjusts creep icon size on the minimap. | Use values between 0 and 3 to improve visibility. |
You can combine these commands based on your needs. For example, monitor performance with cl_showfps 1 while adjusting your FPS cap.
These settings focus on performance clarity, control comfort, and cleaner visuals. Once you feel comfortable using them, you can expand into advanced configuration and launch options.