How to Play on Community Servers
1. Start Counter-Strike 2
To begin accessing community servers, the first action is to initiate Counter-Strike 2. This is done by opening the Steam client and selecting Counter-Strike 2 from your library to start the game.
2. Access the Developer Console
The developer console must be activated to connect to community servers. Navigate to the game settings through the gear icon. Within the settings, locate the option for the developer console and enable it by selecting “Yes.” Once this is set, the console can be opened by pressing the tilde key (~) on the keyboard.
3. Locate a Community Server
Players typically need the server's IP address to connect to a community server. Websites like Faceit can provide necessary details, such as IP addresses, for these servers. Players can also use a server browser within the game to search and find the type of server they wish to join. Upon finding a suitable server, simply click to connect.
4. Enter the Server
After obtaining the server's IP address, enter the console and use the command connect [IP:Port], substituting the bracketed area with the server’s specific IP and port. For example, typing connect 192.168.1.1:27015 will facilitate entry into the desired server. Hit Enter, and the game will begin connecting you to the server.
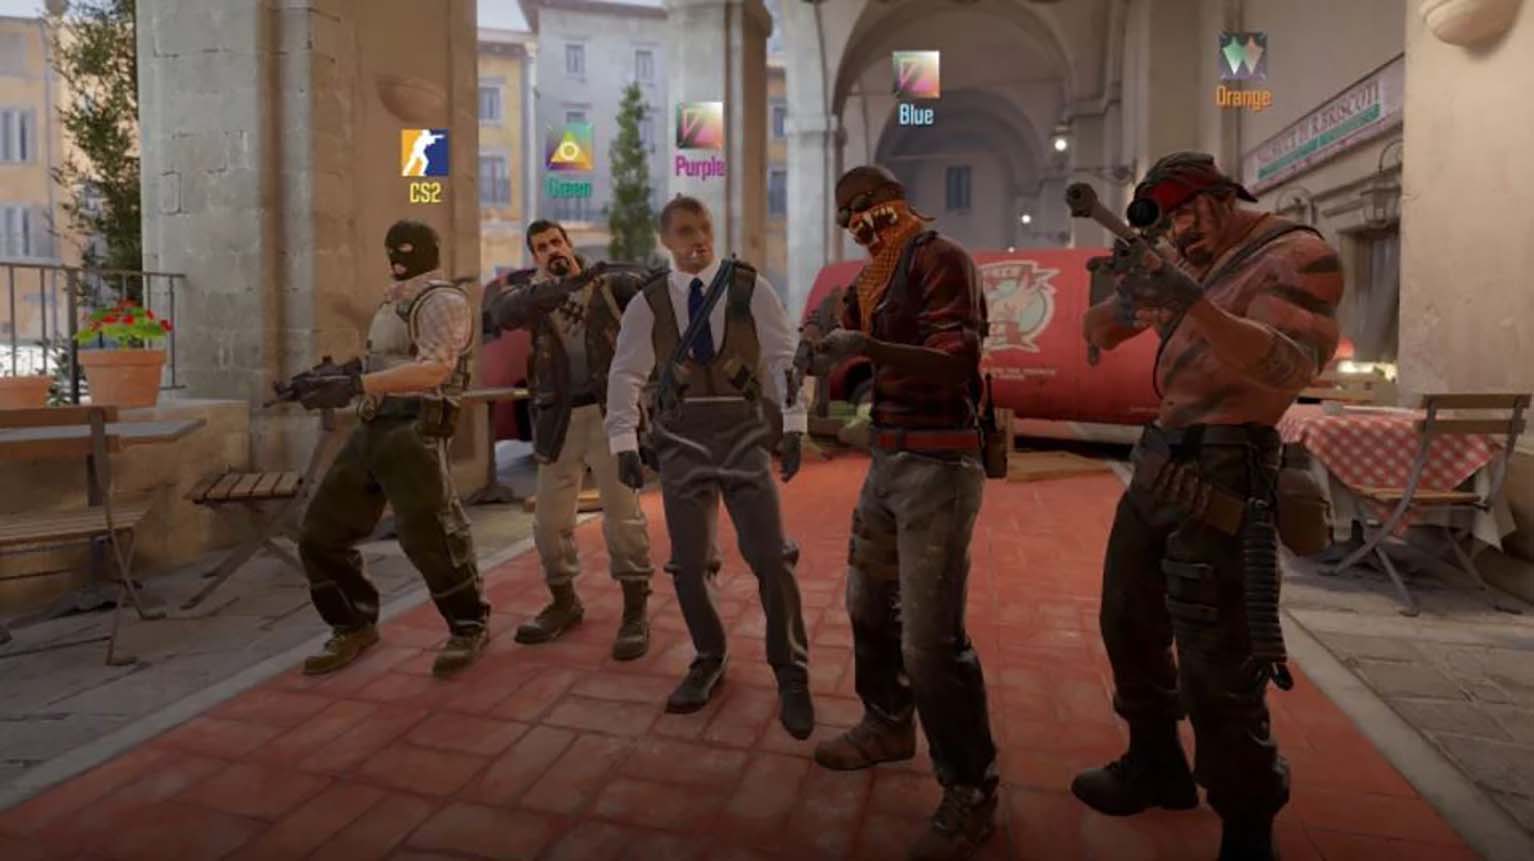
Once connected to a server, whether it’s for competitive play or casual enjoyment, players may encounter unique items or settings specific to that server. This can include third-party maps or modifications that enhance gameplay. Allow the game to load these elements, and then proceed to enjoy the experience once the player character is placed into the game environment.